Build your first Dagster pipeline
Welcome to Dagster! In this guide, we'll cover:
- Setting up a basic Dagster project using Dagster OSS for local development
- Creating a single Dagster asset that encapsulates the entire Extract, Transform, and Load (ETL) process
- Using Dagster's UI to monitor and execute your pipeline
- Deploying your changes to the cloud
If you have created a project through the Dagster+ Serverless UI, see the Dagster+ Serverless quickstart guide instead.
Prerequisites
Before getting started, you will need to make sure you install the following prerequisites:
- Python 3.10+
- If using uv as your package manager, you will need to install
uv(Recommended). - If using pip as your package manager, you will need to install the
create-dagsterCLI with Homebrew,curl, orpip.
For detailed instructions, see the Installation guide.
Step 1: Scaffold a new Dagster project
- uv
- pip
-
Open your terminal and scaffold a new Dagster project:
uvx create-dagster@latest project dagster-quickstart -
Respond
yto the prompt to runuv syncafter scaffolding
-
Change to the
dagster-quickstartdirectory:cd dagster-quickstart -
Activate the virtual environment:
- MacOS/Unix
- Windows
source .venv/bin/activate.venv\Scripts\activate -
Install the required dependencies in the virtual environment:
uv add pandas
-
Open your terminal and scaffold a new Dagster project:
create-dagster project dagster-quickstart -
Change to the
dagster-quickstartdirectory:cd dagster-quickstart -
Create and activate a virtual environment:
- MacOS/Unix
- Windows
python -m venv .venvsource .venv/bin/activatepython -m venv .venv.venv\Scripts\activate -
Install the required dependencies:
pip install pandas -
Install your project as an editable package:
pip install --editable . --group devnoteThe
--groupargument is only available in pip versions 25.1 and higher. If you have an older version of pip, you can upgrade it withpip install --upgrade pipor omit the--group devflag.
Your new Dagster project should have the following structure:
- uv
- pip
.
└── dagster-quickstart
   ├── pyproject.toml
   ├── src
   │   └── dagster_quickstart
   │       ├── __init__.py
   │       ├── definitions.py
   │       └── defs
   │           └── __init__.py
   ├── tests
   │   └── __init__.py
   └── uv.lock
.
└── dagster-quickstart
   ├── pyproject.toml
   ├── src
   │   └── dagster_quickstart
   │       ├── __init__.py
   │       ├── definitions.py
   │       └── defs
   │           └── __init__.py
   └── tests
      └── __init__.py
Step 2: Scaffold an assets file
Use the dg scaffold defs command to generate an assets file on the command line:
dg scaffold defs dagster.asset assets.py
This will add a new file assets.py to the defs directory:
src
└── dagster_quickstart
   ├── __init__.py
   └── defs
      ├── __init__.py
      └── assets.py
Step 3: Add data
Next, create a sample_data.csv file. This file will act as the data source for your Dagster pipeline:
mkdir src/dagster_quickstart/defs/data && touch src/dagster_quickstart/defs/data/sample_data.csv
In your preferred editor, copy the following data into this file:
id,name,age,city
1,Alice,28,New York
2,Bob,35,San Francisco
3,Charlie,42,Chicago
4,Diana,31,Los Angeles
Step 4: Define the asset
To define the assets for the ETL pipeline, open src/dagster_quickstart/defs/assets.py file in your preferred editor and copy in the following code:
import pandas as pd

import dagster as dg

sample_data_file = "src/dagster_quickstart/defs/data/sample_data.csv"
processed_data_file = "src/dagster_quickstart/defs/data/processed_data.csv"


@dg.asset
def processed_data():
    ## Read data from the CSV
    df = pd.read_csv(sample_data_file)

    ## Add an age_group column based on the value of age
    df["age_group"] = pd.cut(
        df["age"], bins=[0, 30, 40, 100], labels=["Young", "Middle", "Senior"]
    )

    ## Save processed data
    df.to_csv(processed_data_file, index=False)
    return "Data loaded successfully"
At this point, you can list the Dagster definitions in your project with dg list defs. You should see the asset you just created:
dg list defs
┏━━━━━━━━━┳━━━━━━━━━━━━━━━━━━━━━━━━━━━━━━━━━━━━━━━━━━━━━━━━━━━━━━━━━━━┓
┃ Section ┃ Definitions                                               ┃
┡━━━━━━━━━╇━━━━━━━━━━━━━━━━━━━━━━━━━━━━━━━━━━━━━━━━━━━━━━━━━━━━━━━━━━━┩
│ Assets  │ ┏━━━━━━━━━━━━━━━━┳━━━━━━━━━┳━━━━━━┳━━━━━━━┳━━━━━━━━━━━━━┓ │
│         │ ┃ Key            ┃ Group   ┃ Deps ┃ Kinds ┃ Description ┃ │
│         │ ┡━━━━━━━━━━━━━━━━╇━━━━━━━━━╇━━━━━━╇━━━━━━━╇━━━━━━━━━━━━━┩ │
│         │ │ processed_data │ default │      │       │             │ │
│         │ └────────────────┴─────────┴──────┴───────┴─────────────┘ │
└─────────┴───────────────────────────────────────────────────────────┘
You can also load and validate your Dagster definitions with dg check defs:
dg check defs
All component YAML validated successfully.
All definitions loaded successfully.
Step 5: Run your pipeline
-
In the terminal, navigate to your project's root directory and run:
dg dev -
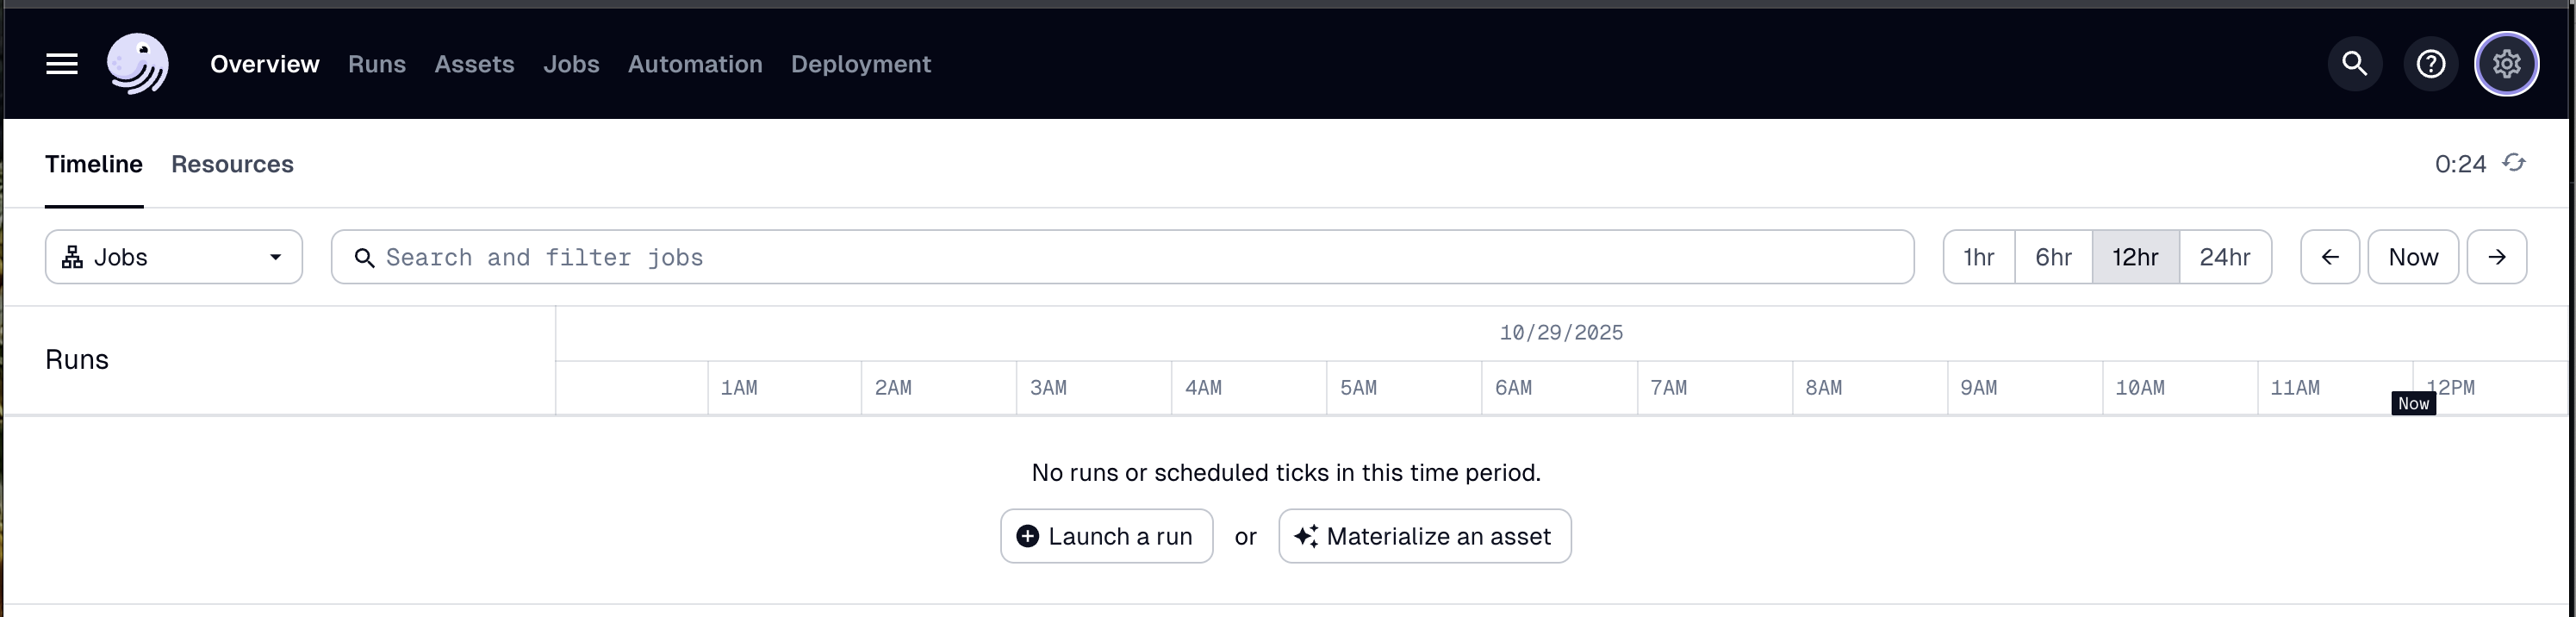
Open your web browser and navigate to http://localhost:3000, where you should see the Dagster UI:
-
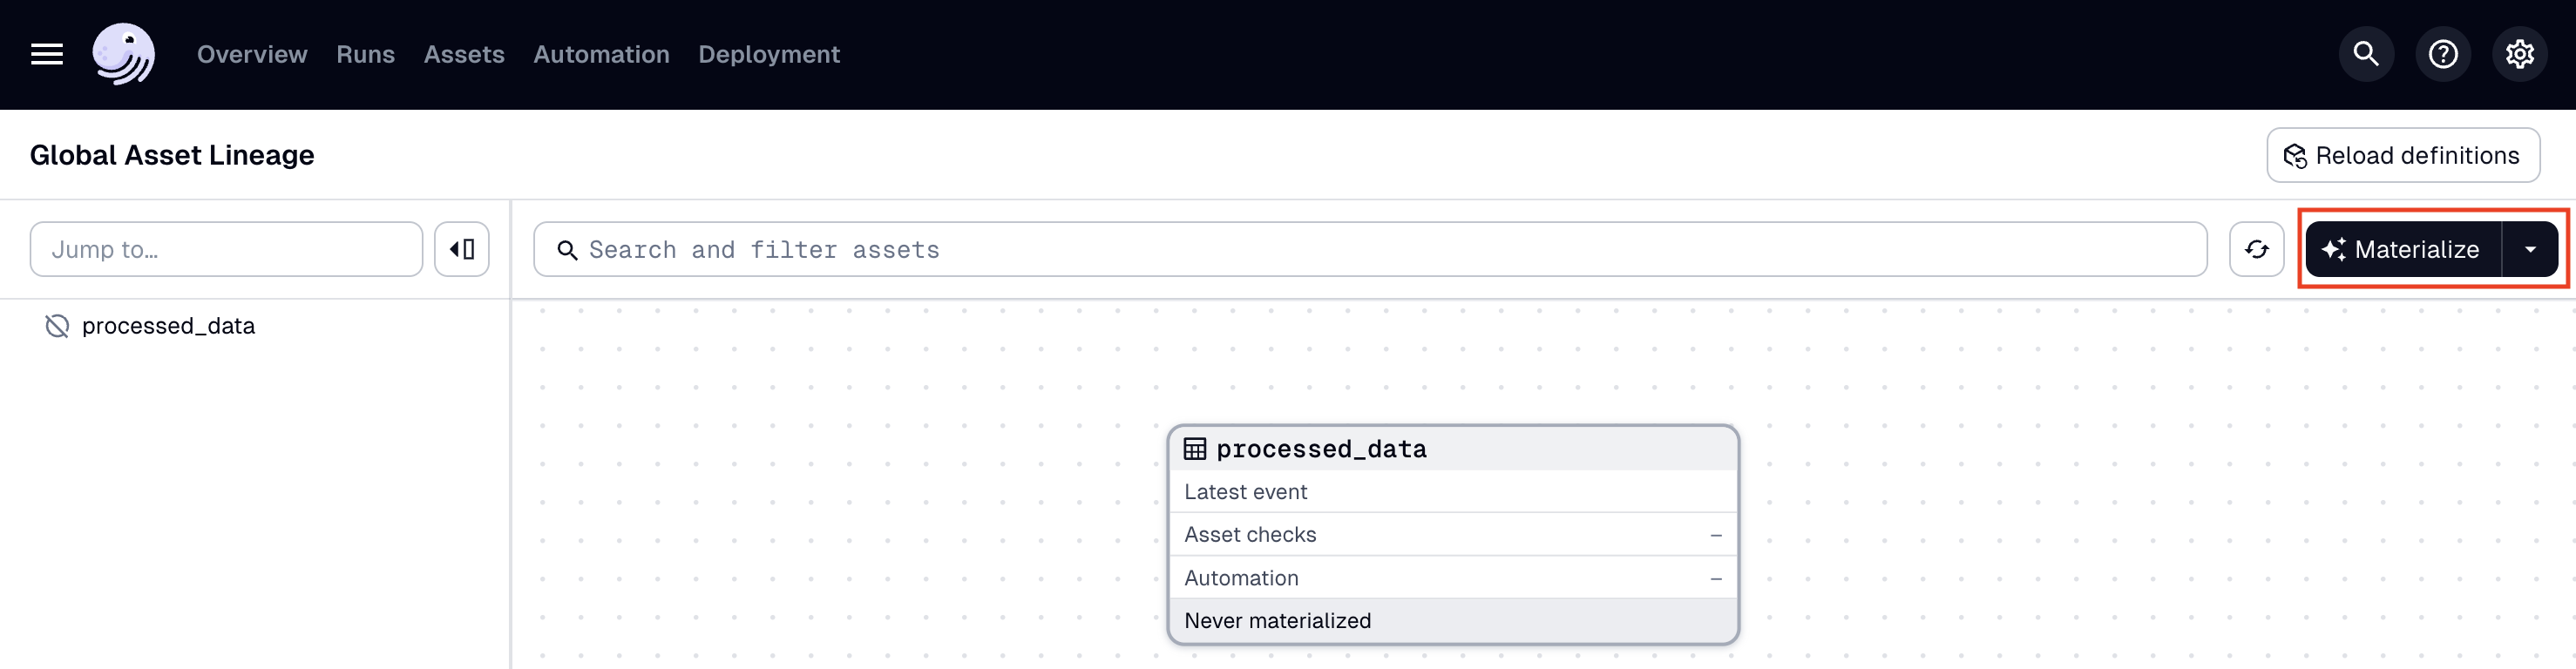
In the top navigation, click the Assets tab, then click View lineage:

-
To run the pipeline, click Materialize:
-
To view the run as it executes, click the Runs tab, then on the right side of the page, click View:
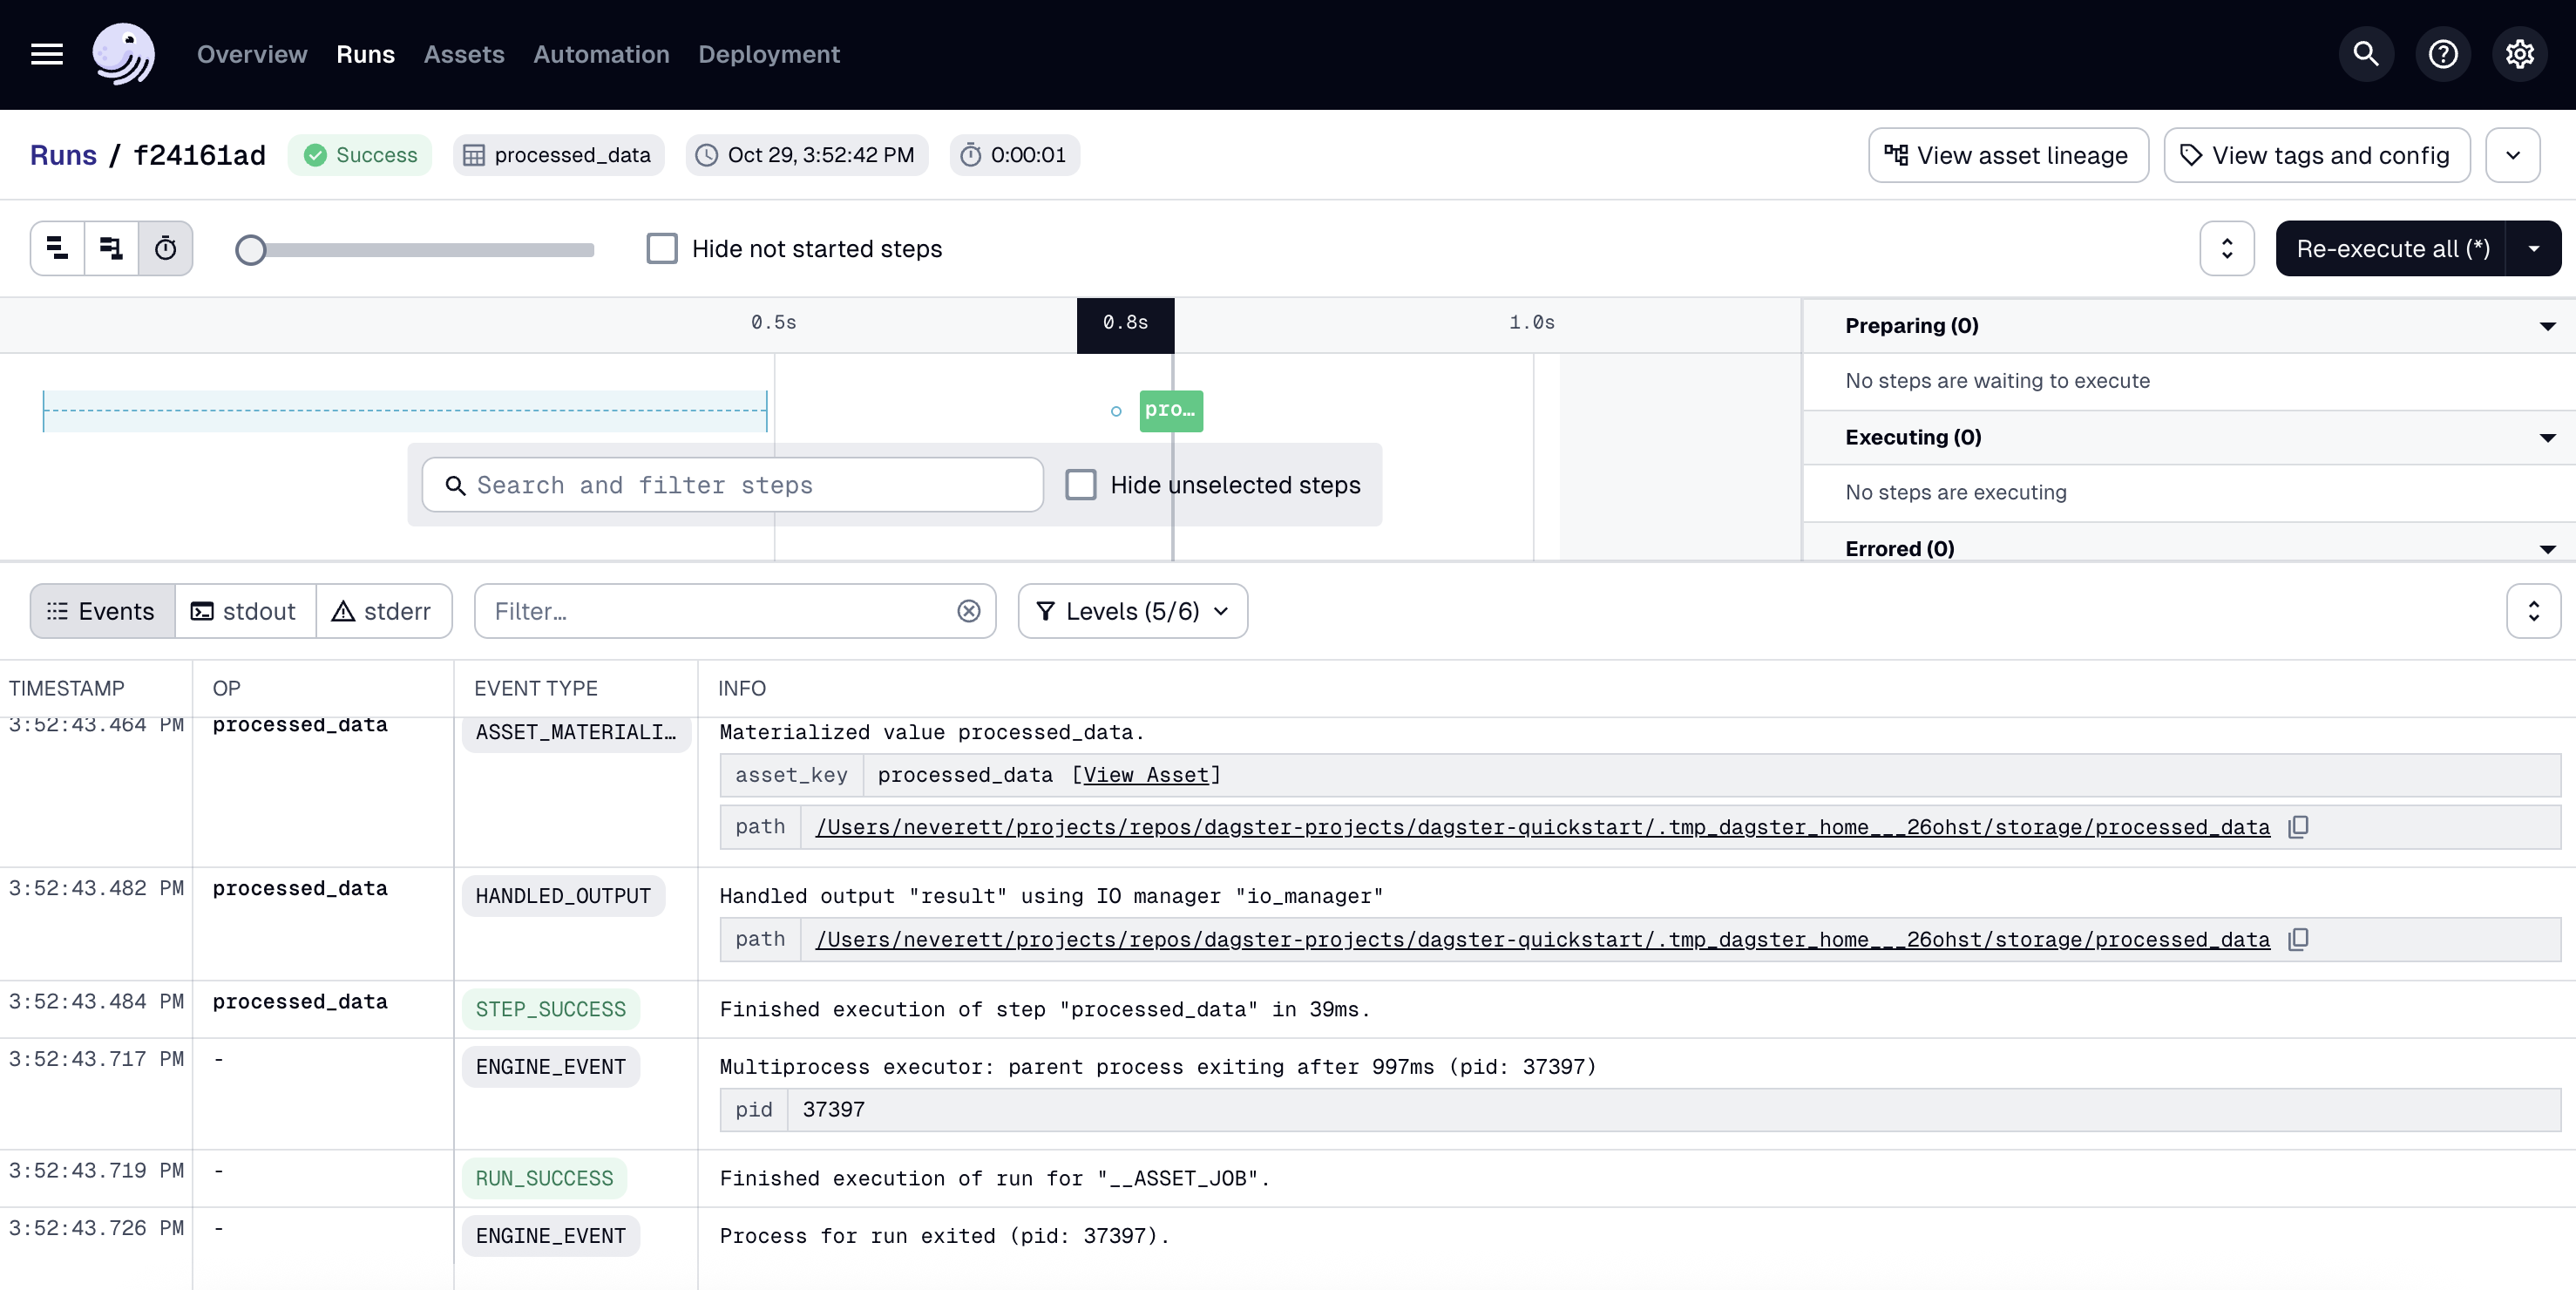
To change how the run is displayed, you can use the view buttons in the top left corner of the page:

You can also run the pipeline by using the dg launch --assets command and passing an asset selection:
dg launch --assets "*"
Step 6: Verify the results
In your terminal, run:
cat src/dagster_quickstart/defs/data/processed_data.csv
You should see the transformed data, including the new age_group column:
id,name,age,city,age_group
1,Alice,28,New York,Young
2,Bob,35,San Francisco,Middle
3,Charlie,42,Chicago,Senior
4,Diana,31,Los Angeles,Middle
Step 7. Deploy to production
Once you have run your pipeline locally, you can optionally deploy it to production.
- OSS
- Dagster+ Hybrid
To deploy to OSS production, see the OSS deployment docs. If you have already set up a production OSS deployment with an existing project, you will need to create a workspace.yaml file to tell your deployment where to find each project (also known as a code location).
- Set up a Hybrid deployment, if you haven't already.
- In the root directory of your project, run
dg scaffold build-artifactsto create abuild.yamldeployment configuration file and a Dockerfile. - To deploy to the cloud, you can either:
- Perform a one-time deployment with the
dagster-cloudCLI - Set up CI/CD for continuous deployment.
- Perform a one-time deployment with the
With Dagster+ Hybrid, you can also use branch deployments to safely test your changes against production data.
Next steps
Congratulations! You've just built and run your first pipeline with Dagster. Next, you can:
- Follow the Tutorial to learn how to build a more complex ETL pipeline
- Check out our Python primer series for an in-depth tour of Python modules, packages and imports
- Create your own Dagster project, add assets and integrations, and automate your pipeline
- Test your pipelines with asset checks and debug them in real time with pdb